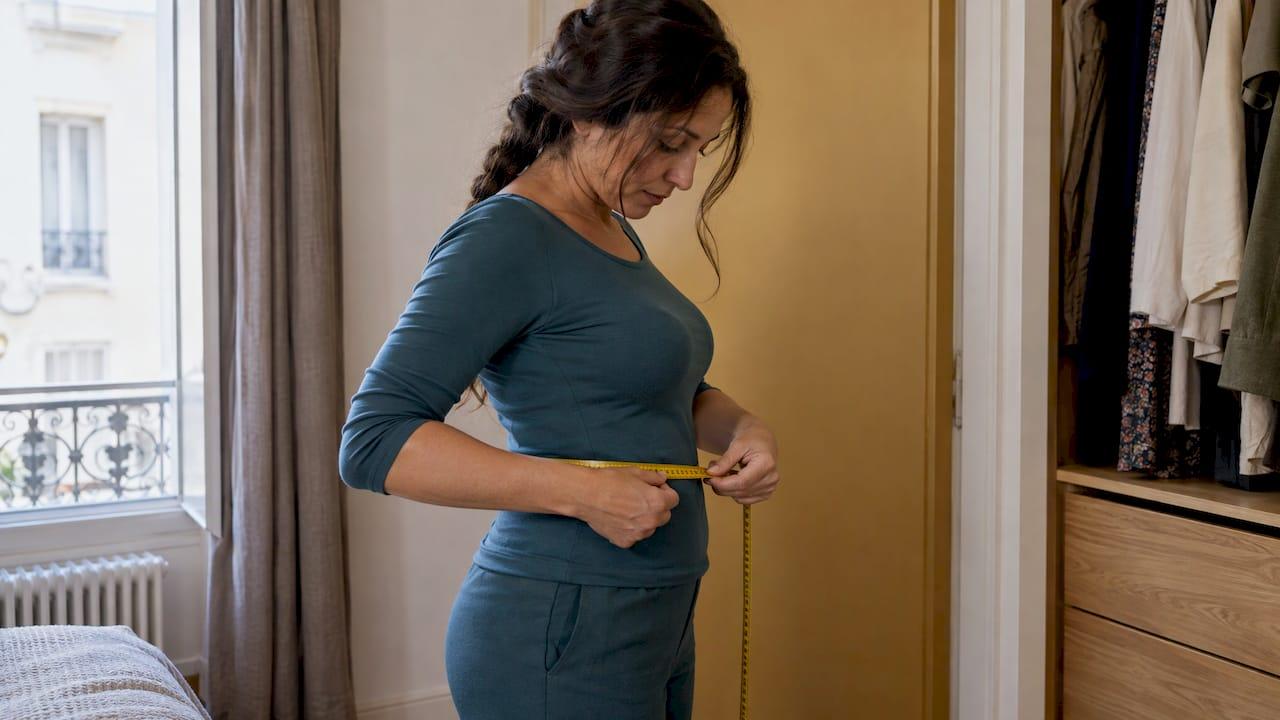
To calibrate your avatar, measure your body once with a flexible tape, enter the numbers that drive fit (height, waist, chest, hips, shoulders), then check the result against a mirror photo. Ten careful minutes beat any later tweaking. If you want to try outfits on your own personal mannequin, our app, MyTenue, is built for exactly that: your look on your shape, before you buy or get dressed.
This guide is for everyday shoppers, not 3D artists. Searches for this topic often land on game-avatar pages (VR scaling, Unity rigs). Here we talk about a fashion avatar: a digital mannequin that stands in for your body when you preview clothes.
TL;DR
- Measure in light clothing, tape parallel to the floor, snug but not tight, breathing normally.
- Waist and height separate body shapes better than chest and hips alone, so get those two right first.
- Check your avatar in front, side and back views. Compare with a real photo of you standing relaxed.
- If a garment looks off, fix the body numbers first, then the garment photo, then the lighting.
- A preview is a guide to fit, not a guarantee. Use it to narrow choices fast.
Table of Contents
- What "calibrating" an avatar really means
- Before you measure: set up in 5 minutes
- Step 1: Take the key measurements
- Step 2: Know which numbers matter most
- Step 3: Enter the numbers and set the body
- Step 4: Check the pose and the proportions
- Step 5: Fix what looks wrong
- Step 6: Judge fit as a preview, not a promise
- Re-calibrate when your body or your goals change
- Why your own avatar changes how you choose outfits
- Try it on your personal mannequin
- Our perspective
- FAQ
- Sources
What "calibrating" an avatar really means
Calibrating means making the digital body match yours closely enough that clothes drape, stretch and hang in a believable way. Think of it as setting the scale on a kitchen scale before weighing flour.
A virtual body can be created in three main ways, according to the ISO 20947-1:2021 standard on virtual fit evaluation: body scans, scanned fit mannequins, or parametric models built from dimensions. The same document says fit evaluation needs a virtual body that accurately represents the human body, and that scan-based measurements depend on the accuracy of the scanner.
In plain words: whatever method creates your avatar, the result is only as good as the information going in. That is why the measuring step matters more than any slider you will touch afterwards.
If you want the bigger picture of how a photo becomes a preview, read how virtual try-on works. If you want to build your figure from scratch, create your fashion avatar walks through it.

Before you measure: set up in 5 minutes
Good numbers start with a good setup.
- A flexible tape. A sewing tape, the soft kind. A metal builder's tape will not follow your curves.
- Light clothing. Underwear or a thin fitted top. Bulky knits add centimeters you do not have.
- A mirror or a helper. The tape must stay level around your body. A helper makes this easy.
- A notebook or phone note. Write each number right away, with the unit.
- Flat shoes off. Stand barefoot on a hard floor for height.
Stand tall, feet together, arms relaxed. Do not suck in your stomach. Your avatar should look like you on a normal day, not on your best day.
Step 1: Take the key measurements
A French measurement manual from the sewing-pattern app MPattern gives the core technique: use a flexible tape, follow the anatomical placement, and keep it parallel to the floor. Adjust it without tightening it, and breathe normally. Then write the number down.
The same manual also points out that each measurement can go wrong in a typical way, such as a tape that sags at the back. Check front, side and back in a mirror if you can.
Here are the numbers most people need, and where they go.
| Measurement | Where to place the tape | Common mistake |
|---|---|---|
| Height | Barefoot, back to a wall, to the top of the head | Wearing shoes or slouching |
| Chest or bust | Around the fullest part, under the arms | Tape sagging at the back |
| Waist | Narrowest part of the torso, usually above the navel | Measuring over the trouser waistband |
| Hips | Around the fullest part of the hips and seat | Tape tilting upward at the back |
| Shoulder width | Edge to edge of the shoulder bones, across the back | Measuring over a thick jacket |
| Inseam | Crotch to ankle, along the inner leg | Pulling the tape too tight |
Measure each one twice. If the two readings differ by more than a centimeter, measure a third time and keep the middle value.
A note on shoulder slope
Some tools ask for shoulder slope, an angle in degrees. MPattern says it usually falls between 10° and 16°, and suggests leaving it at 13° if you cannot measure it. Do not stress over this one. A default is fine.
Step 2: Know which numbers matter most
Not every measurement affects fit equally. A Canadian research paper on anthropometric calibration of virtual mannequins shows that waist circumference and stature (height) can tell body-size groups apart even when chest and hip circumferences are nearly the same.
What does that mean for you?
- Two people with the same chest and hips can have very different silhouettes if their waist or height differs.
- A dress or a pair of trousers reacts strongly to waist and height. A small error there shows up as a garment that looks too long, too short or pinched.
- If you only have time to measure carefully twice, make it waist and height.
A worked example
Imagine two friends who both measure 96 cm at the chest and 100 cm at the hips. One is 160 cm tall with a 76 cm waist. The other is 178 cm tall with an 86 cm waist. A shirtdress will fall mid-thigh on the first and nearer the hip on the second. An avatar that only knows chest and hips would draw both the same way. Add height and waist, and the preview separates them.

That is the logic behind our advice to enter those two numbers first.
Step 3: Enter the numbers and set the body
Every app handles input differently, so follow the on-screen fields. A few rules apply everywhere.
- Use one unit. Centimeters or inches, never a mix.
- Enter circumferences as circumferences. The tape goes all the way around. Do not halve the number.
- Keep vertical lengths straight. Height is measured with feet level on the floor, as with any standing avatar.
- Do not round up to feel better. Round to the nearest half centimeter at most.
- Save the first version. Then change one value at a time, so you see what each one does.
If you want to see the sizing logic behind a preview in more detail, our guide to accurate virtual try-on sizing covers the six steps to avoid size regret.
Step 4: Check the pose and the proportions
A body that looks wrong is often a pose problem, not a measurement problem. The ISO 20947-1:2021 standard defines a standing position for garment-fit evaluation: head level in the Frankfurt plane (looking straight ahead), feet parallel and 200 mm apart, upper arms 20° away from the torso, elbows straight and palms facing the torso.
You do not need the exact degrees, but the idea helps. A neutral, relaxed, symmetrical pose lets you judge fit. Arms raised, one hip pushed out or a twisted torso will distort how fabric hangs.
Then run this quick visual check:
- Front view. Do the shoulders line up with how you look in a photo? Is the waist where your waist is?
- Side view. Does the chest-to-waist-to-hip curve look like you? Is the posture upright?
- Back view. Are the shoulders level? Do the hips look the right width compared with the shoulders?
- Length check. Does a garment that you own end at the same place on the avatar as on you?
That last test is the most useful. Pick a shirt or a pair of jeans you wear every week. If it sits right on your avatar, you are close.
Step 5: Fix what looks wrong
When the mannequin or the clothes look off, go through this order. It starts with the cause that is most likely and cheapest to fix.
| What you see | Most likely cause | Fix |
|---|---|---|
| Garment too long | Height or inseam too low | Re-measure height barefoot, check inseam |
| Garment too tight at the middle | Waist number too small | Re-measure at the narrowest point, no pulling |
| Shoulders look too wide or narrow | Shoulder width taken over a jacket | Re-measure in a thin top |
| Body looks right, garment looks stretched | Garment photo is angled or cropped | Retake the garment photo flat and straight |
| Colors look dull or odd | Lighting on the garment photo | Retake in even daylight |
| Everything looks slightly off | Tape level or posture error | Measure again with a mirror or helper |
Two of these fixes involve the garment photo, not your body. Our guide on how to photograph clothes for AI try-on explains the four angles to shoot. And lighting for virtual try-on explains why a window beats a ceiling bulb.
Change one thing at a time. If you change three values and the result improves, you will not know which one mattered.
Step 6: Judge fit as a preview, not a promise
The ISO standard stresses that digital fit evaluation depends on how accurate the virtual body is. The same goes for you: a careful avatar gives a useful preview, and a rushed one gives a rough sketch.
Use the preview to answer questions like these:
- Does this cut suit my proportions?
- Is this length right for me?
- Does this color work with my skin tone and the rest of my wardrobe?
- Does this outfit fit the occasion?
The preview does not replace the fabric in your hands: stretch, weight and cling still vary. For a sense of what the technology does well, see the real role of virtual fitting rooms. And to score the quality of a render, try the six fidelity checks.
Re-calibrate when your body or your goals change
Bodies change. Weight moves, pregnancy happens, training adds shoulders, and a new job changes how you sit all day. Re-measure when:
- your clothes start to fit differently,
- you have lost or gained weight,
- six months have passed since your last measurement,
- the preview no longer looks like your mirror.
A two-minute check on waist and height is usually enough.
Why your own avatar changes how you choose outfits
A generic model shows how a garment looks on someone else. Your own mannequin shows how it looks on you. That shifts decisions: you skip the cut that never suits you, and you rediscover pieces already hanging in your closet. We cover the practical side in the real benefits of outfit decisions on your avatar and in AI outfit recommendations for your body.
It also helps your budget. Testing two or three outfits before buying is the idea behind a wardrobe gap analysis. For students and young professionals, that means fewer returns and fewer impulse buys.
Try it on your personal mannequin
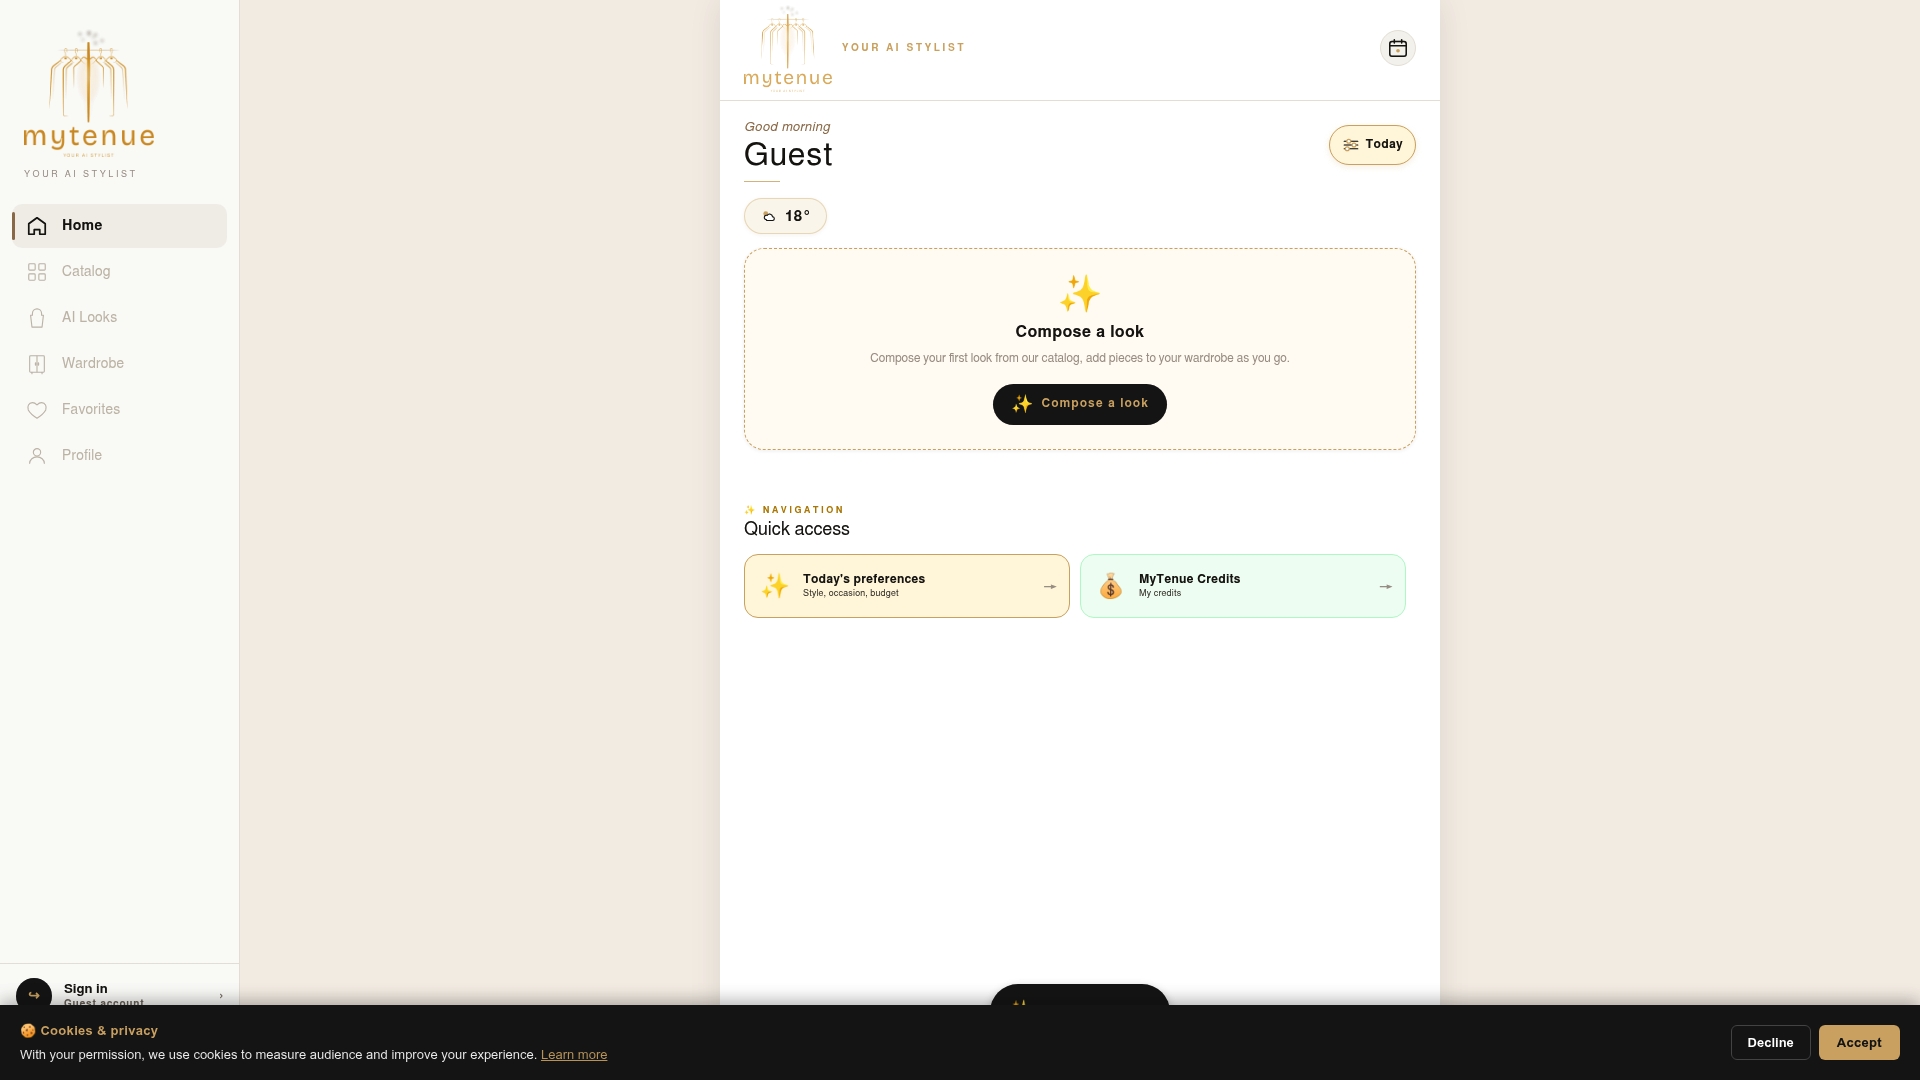
MyTenue is an AI stylist app for iOS and Android. You try outfits on your personal avatar, get editorial flat-lay images, digitize your wardrobe, and plan looks with a calendar. The interface is in French and English, and it works on mobile and web.
There is a free plan, then Basic at 5.99 € per month, Premium at 9.99 € per month and Gold at 16.99 € per month. Download it from the MyTenue app page, on the App Store or Google Play.
Our perspective
We built MyTenue around one idea: you already own most of what you need. The hard part is seeing it.
That is why the avatar matters to us. A try-on only helps if the body in front of you looks like yours. So we treat your mannequin as the base of everything else: outfit suggestions, look scoring, flat-lay images, the weather-adapted daily pick.
Our advice is simple. Measure once, carefully. Check your avatar against a photo. Then let your AI stylist work from your wardrobe, mixing what you have with a few new pieces. Less stress in the morning, fewer pieces you regret.
Ahmed
FAQ
How long does it take to calibrate an avatar?
About ten minutes for a first setup: five to prepare and take the measurements, five to check front, side and back views. After that, a quick re-check of waist and height every few months is enough.
Do I need a helper to measure myself?
Not strictly, but it helps. A helper keeps the tape level at the back, which is where most errors happen. Alone, use a mirror and check that the tape runs parallel to the floor all the way around.
What if I cannot measure shoulder slope?
Skip it. MPattern's manual suggests leaving it at 13° when you cannot measure it, within a usual range of 10 to 16°. Focus your effort on height and waist.
Why does my avatar look right but the clothes look wrong?
Usually the garment photo is the cause: an angle, a crop or uneven light. Retake it flat, straight and in daylight. If the issue remains, re-measure the body part where the garment sits.
Is the virtual preview exact?
It is a close guide, and its quality follows the accuracy of the body behind it, as the ISO 20947-1 standard states. Careful measurements and a neutral pose give you the best result.
Sources
- MPattern, taking body measurements for a pattern (French manual)
- Anthropometric Calibration of Virtual Mannequins, National Research Council Canada
- ISO 20947-1:2021, virtual fit evaluation